Setting Up User Accounts for Integrating with Dynamics 365 for Sales
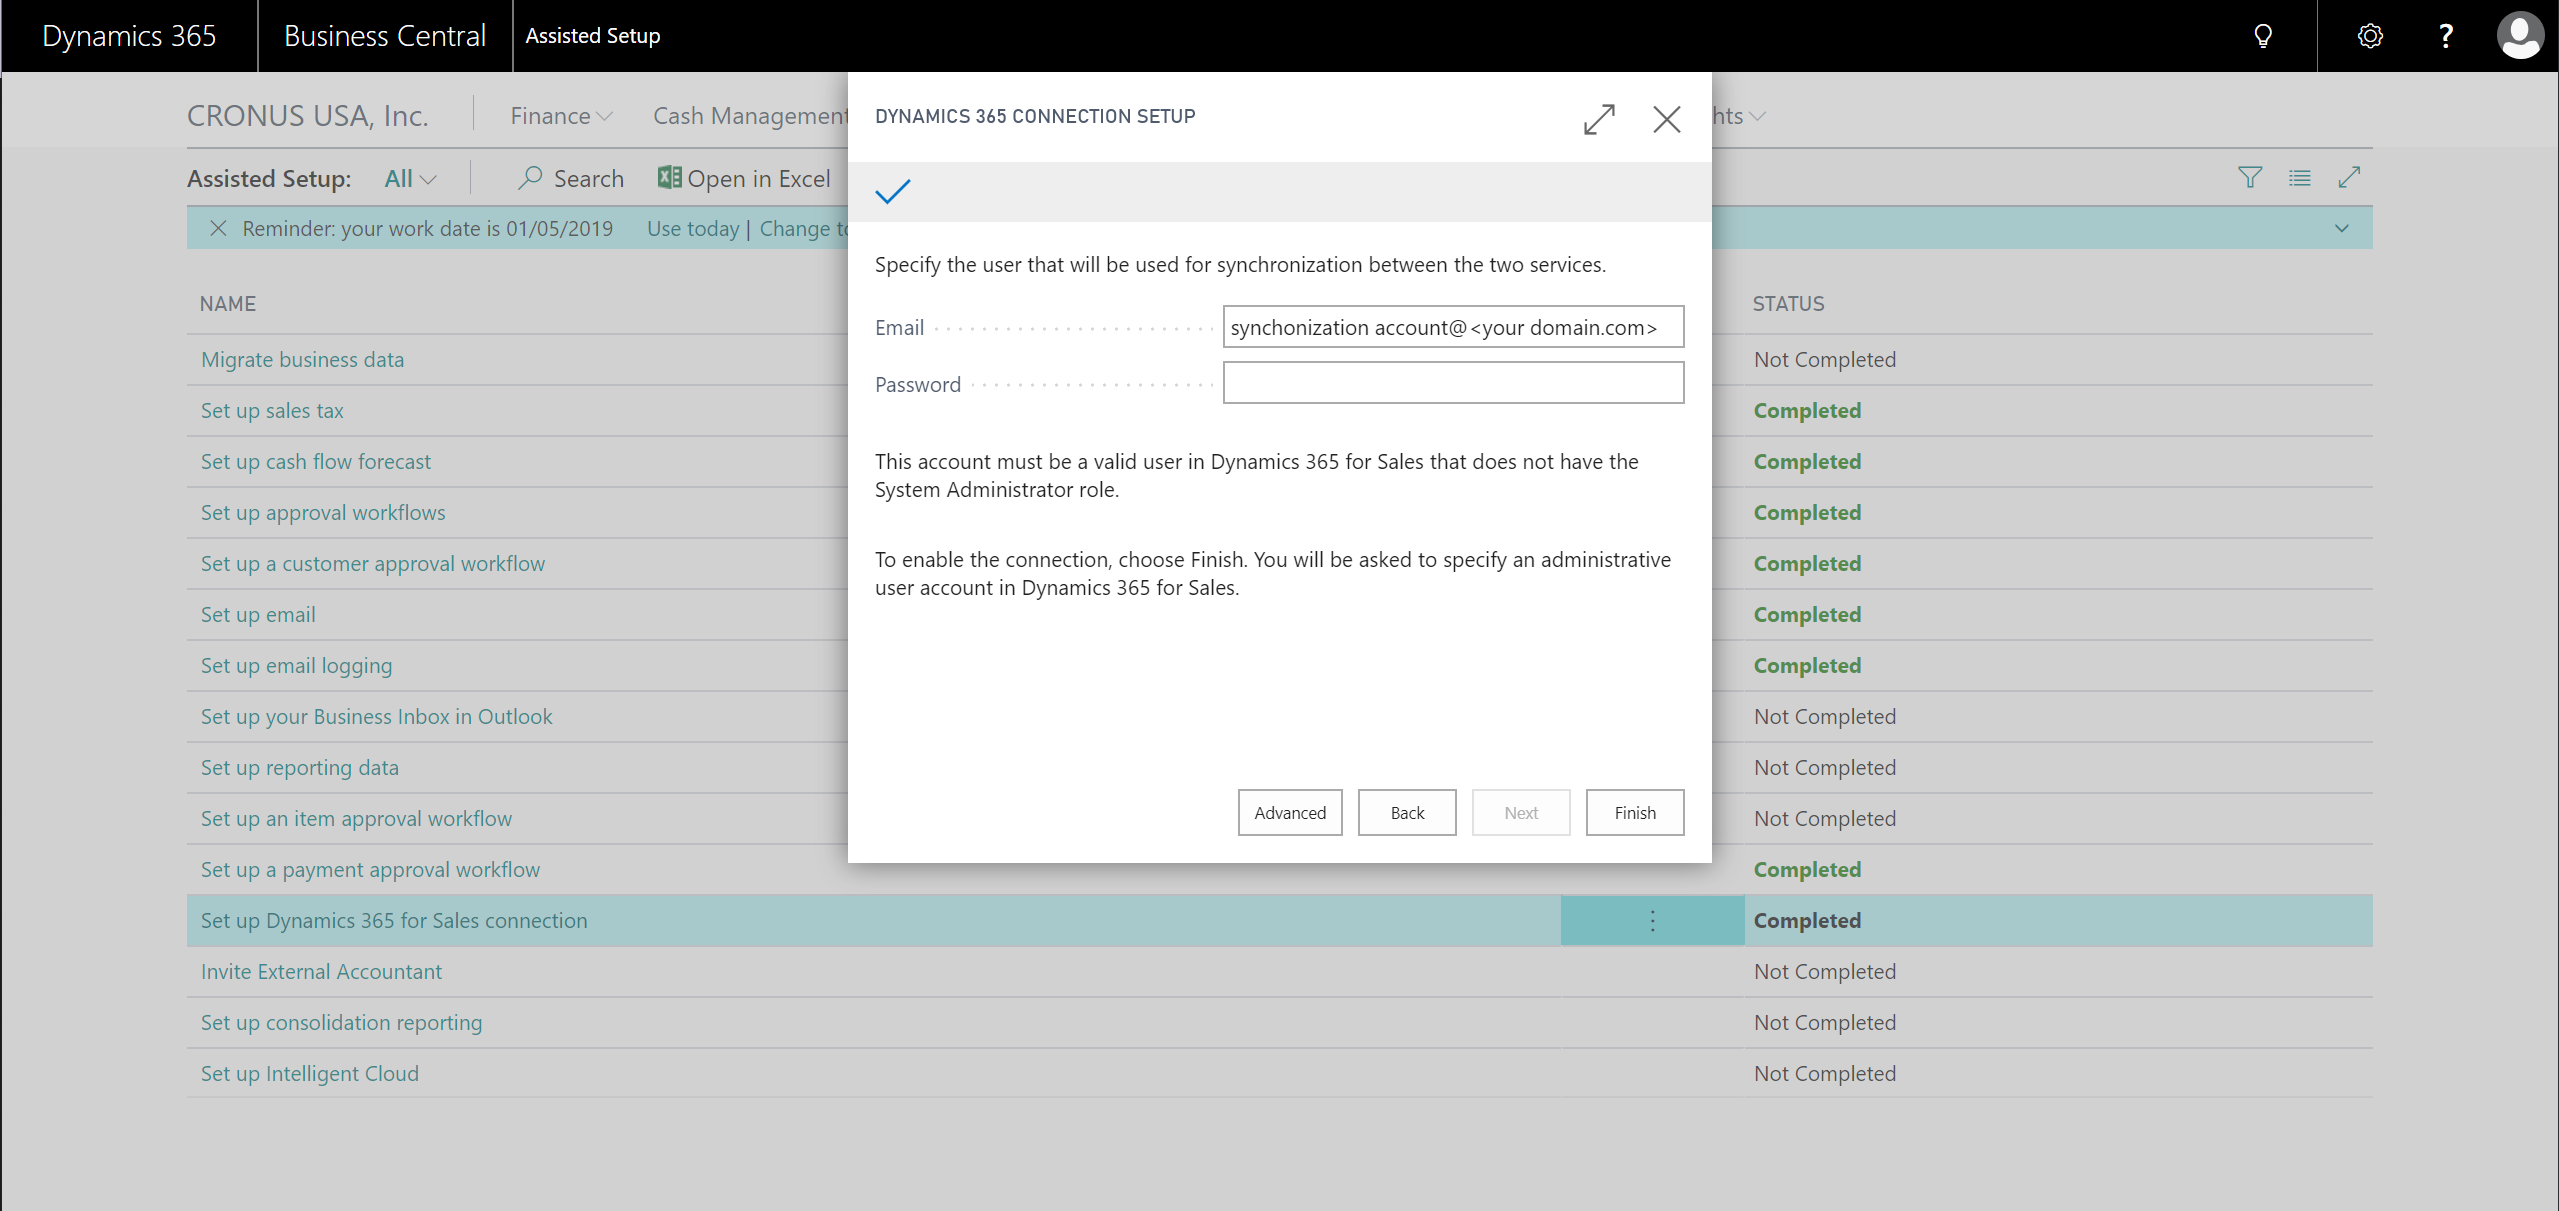
This article provides an overview of how to set up the user accounts that are required to integrate Dynamics 365 for Sales with Business Central.
Setting Up the Admininstrator User Account in Sales
You must add your administrator user account for Business Central as a user in Dynamics 365 for Sales, and then promote the user to administrator in Dynamics 365 for Sales. The administrator user account must also have the System Customizer role and at least one other non-administrative user role, such as Sales Manager, in Dynamics 365 for Sales.
Setting Up the User Account for the Integration
You must create a dedicated user account in your Office 365 subscription that both Business Central and Dynamics 365 for Sales can use to synchronize data. This user account must be able to sign in to Dynamics 365 for Sales, which means this user must have a license for Dynamics 365 for Sales. This account must also be a non-interactive account in Dynamics 365 for Sales. For more information about how to create users in Dynamics 365 for Sales, see Manage security, users, and teams. After the connection is set up, Business Central will assign the user account the security roles that it needs in Business Central.

Important
Do not use the administrator account for Dynamics 365 for Sales for synchronization. Doing so will break the synchronization. Also, to avoid constant synchronization, changes to data that are made by the integration user account are not synchronized. After the connection is made, we recommend setting the access mode for the user account for integration to non-interactive mode in Dynamics 365 for Sales. For more information, see Create a non-interactive user account.
Setting Up Accounts for Sales People
You must create user accounts in Dynamics 365 for Sales for the salespeople from Business Central. To make that easier, the Microsoft 365 admin center offers an Excel template that you can use. On the Active users page, choose More, and then Import multiple users. Choose Download a CSV file with headers only, and then enter the information for the salespersons. To see an example, choose Download a CSV file with headers and sample user information. After you enter the information about the users, the next step in the import process is to assign the users licenses to the Dynamics 365 Customer Engagement Plan.
After you import the users, and assign them licenses for Dynamics 365 Customer Engagement, you must assign the users to the Salesperson role in Dynamics 365 for Sales.
